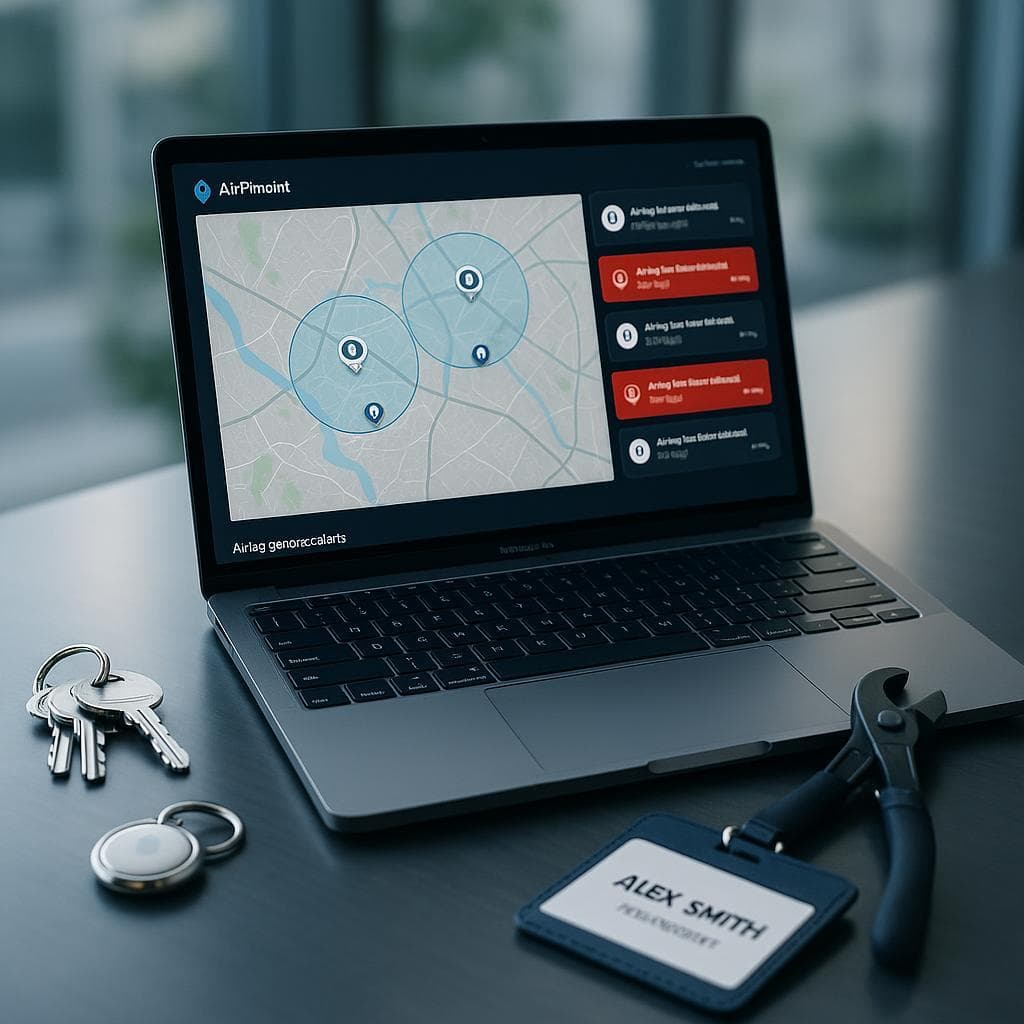
AirTag Geofence: How to Set Up Location Alerts for Any AirTag
Apple's Find My app cannot geofence an AirTag. It has one basic toggle, Notify When Left Behind, which reminds you when you walk away from a saved place. It is not a boundary you draw on a map, it has no exit alerts when someone else moves the item, and it has no scheduling. Airpinpoint adds real geofencing on top of your existing AirTags: draw any boundary, attach any tags, and get an instant alert the moment one enters or exits.
This guide covers whether you can geofence an AirTag, how to set one up step by step, and how accurate the alerts actually are.
Can You Geofence an AirTag?
Yes, but not with Apple's app alone. The native Find My app has no custom geofencing. To draw a real boundary and get entry or exit alerts, you connect your AirTags to a platform like Airpinpoint that watches the Find My location stream and fires an alert the moment a tag crosses the line you set.
| Capability | Find My (Apple) | Airpinpoint |
|---|---|---|
| Draw a custom boundary on a map | No | Yes |
| Entry alerts | No | Yes |
| Exit alerts when others move the item | No | Yes |
| Multiple geofences | No | Unlimited |
| Schedule-based alerts (after hours) | No | Yes |
| Alert by push, email, and webhook | Push only, limited | All three |
| Team access and dashboard | No | Yes |
| 32-item Apple ID limit | Yes | Removed |
The reason it needs a platform is that the AirTag itself has no GPS and no logic. It just broadcasts a Bluetooth beacon that nearby Apple devices relay. Airpinpoint takes each of those location reports and checks it against your boundaries, so the geofence lives in the software, not the tag.
What Are Airpinpoint Geofences and Why Use Them with AirTags?
Airpinpoint Geofences are virtual perimeters established around physical locations that trigger actions when a tracked AirTag enters or exits the defined area. When paired with AirTags, Airpinpoint Geofences offer numerous benefits:
- Theft prevention: Get immediate alerts when items unexpectedly leave secure locations
- Equipment management: Monitor when tools enter or exit job sites or storage areas
- Inventory control: Track when assets move between designated zones
- Peace of mind: Reduce constant location checking with Airpinpoint's automated monitoring
AirTags are particularly effective with Airpinpoint Geofences due to Apple's extensive Find My network, which relies on over 2.5 billion Apple devices worldwide to relay location information, providing superior coverage compared to traditional Bluetooth trackers.
A geofence alert is only as fresh as the update rate
This point is worth understanding before you set up any geofence: an alert fires when the platform learns the asset crossed the boundary, not the moment it crossed. That gap is determined entirely by how often the tracker reports its position.
Battery-powered GPS trackers advertise 1-3 year battery lives. That figure assumes roughly one location update per day. At once-a-day check-ins, a geofence violation fires up to 23 hours after the asset left the boundary. By then, stolen equipment is in a different state. An after-hours alert that arrives at 11 PM for a machine that left your yard at midnight the night before is not a security feature.
AirTags update every 1-5 minutes in populated areas as iPhones pass nearby. Airpinpoint checks for boundary crossings continuously and fires the alert within minutes of the actual event. That is the difference between an alert you can act on and a timestamp for your police report.
Setting Up Your First Airpinpoint Geofence
Step 1: Attach AirTags to Your Valuables
Before creating Airpinpoint Geofences, properly attach AirTags to the items you want to monitor:
- Ensure AirTags are securely fastened using appropriate holders or attachments
- For metal equipment, use spacers to maintain Bluetooth effectiveness
- For larger items like machinery, place the AirTag where it won't be damaged but remains detectable
Step 2: Register Your AirTags with Airpinpoint
To enable advanced geofencing capabilities beyond Apple's basic options:
- Create an account on the Airpinpoint platform
- Register your AirTags following the guided setup process
- Assign descriptive names and categories to each tagged item
- Verify all AirTags appear correctly on your Airpinpoint dashboard
Step 3: Create Your First Airpinpoint Geofence
Once your AirTags are registered, create your first geofence:
- Navigate to the "Geofences" section in your Airpinpoint dashboard
- Select "Create New Geofence"
- Enter a recognizable name (e.g., "Warehouse," "Job Site A," or "Home")
- Set the geofence location by:
- Searching for an address
- Dropping a pin on the map
- Using your current location
- Adjust the geofence radius (typically 50-200 meters for optimal accuracy)
- Review and save your new Airpinpoint Geofence
Step 4: Configure Airpinpoint Alert Preferences
Customize how and when you receive notifications:
- Select your newly created Airpinpoint Geofence
- Choose which AirTags to associate with this geofence
- Configure alert triggers:
- Entry alerts (when an item enters the geofence)
- Exit alerts (when an item leaves the geofence)
- Schedule-based alerts (only during specific hours)
- Select notification methods:
- Push notifications
- Email alerts
- SMS messages (premium feature)
- Slack notifications (premium feature)
- Webhooks (premium feature)
- Set notification recipients (team members, managers, etc.)
- Save your Airpinpoint alert configuration
Advanced Airpinpoint Geofencing Techniques
Creating Multiple Geofences
For comprehensive coverage, create multiple Airpinpoint Geofences for different locations:
- Follow the same process to establish geofences for all relevant locations
- Consider overlapping geofences for more precise zone control
- Implement hierarchical geofences (large property boundary + smaller zones within)
Time-Based Geofence Rules
Enhance security with Airpinpoint's time-sensitive rules:
- Navigate to the geofence settings
- Enable schedule-based alerts
- Define business hours or expected movement times
- Set different alert parameters for after-hours movements
- Create weekend-specific rules if applicable
Temporary Geofences for Projects
For short-term locations like construction sites:
- Create an Airpinpoint Geofence with an expiration date
- Set the project duration in the geofence properties
- Configure higher sensitivity alerts for temporary locations
- Assign additional team members for monitoring project-based geofences
Troubleshooting Common Airpinpoint Geofence Issues
Addressing False Alerts
If you're receiving too many false notifications:
- Increase your Airpinpoint Geofence radius to accommodate location variability
- Implement alert delays (require multiple confirmations before notifying)
- Check for interference sources near geofence boundaries
- Review location history to identify patterns causing false triggers
Improving Alert Reliability
To enhance Airpinpoint alert dependability:
- Ensure sufficient Apple device coverage in your area
- Position AirTags optimally on assets for better signal transmission
- Verify your notification settings on receiving devices
- Consider signal boosters for warehouses or metal-rich environments
Business Use Cases for Airpinpoint Geofencing
Construction Equipment Management
Construction companies can use Airpinpoint Geofences to:
- Create geofences around active job sites
- Receive alerts when equipment arrives at or leaves locations
- Track after-hours movement for theft prevention
- Document equipment location history for billing and utilization analysis
Field Service Tool Tracking
Service companies benefit from Airpinpoint Geofences by:
- Setting vehicle-based geofences to monitor when tools leave service vans
- Creating customer site geofences to confirm service completion
- Establishing depot alerts to verify end-of-day tool returns
- Receiving unauthorized movement notifications during off-hours
Retail Inventory Management
Retailers can implement Airpinpoint Geofences for:
- Stockroom geofences to track inventory movement
- Loading dock alerts for shipment arrivals and departures
- Display area monitoring for high-value products
- Storage location verification for seasonal merchandise
Integrating Airpinpoint Geofence Data with Business Systems
Maximize Airpinpoint Geofence value by connecting with:
- Inventory management systems for automatic stock updates
- Workforce management tools to verify on-site presence
- Security systems for coordinated responses to unauthorized movements
- Customer billing systems for usage-based pricing models
Conclusion
Setting up Airpinpoint Geofences and alerts with AirTags provides powerful location awareness for both businesses and individuals. By following the steps outlined in this guide, you can implement a comprehensive monitoring system that leverages Apple's vast Find My network while adding customized boundaries and notifications tailored to your specific needs.
AirTags with Airpinpoint Geofences offer the right balance of affordability, reliability, and update frequency for location-based tracking. The CR2032 battery lasts 12+ months at full update rate, so the geofence alerts arrive within minutes of the actual event, not a day later. Whether you're managing expensive equipment, monitoring retail inventory, or simply keeping tabs on personal valuables, Airpinpoint Geofence alerts transform passive tracking into proactive management.
Start implementing your Airpinpoint Geofence strategy today and experience the peace of mind that comes with knowing exactly when your valuables are on the move.
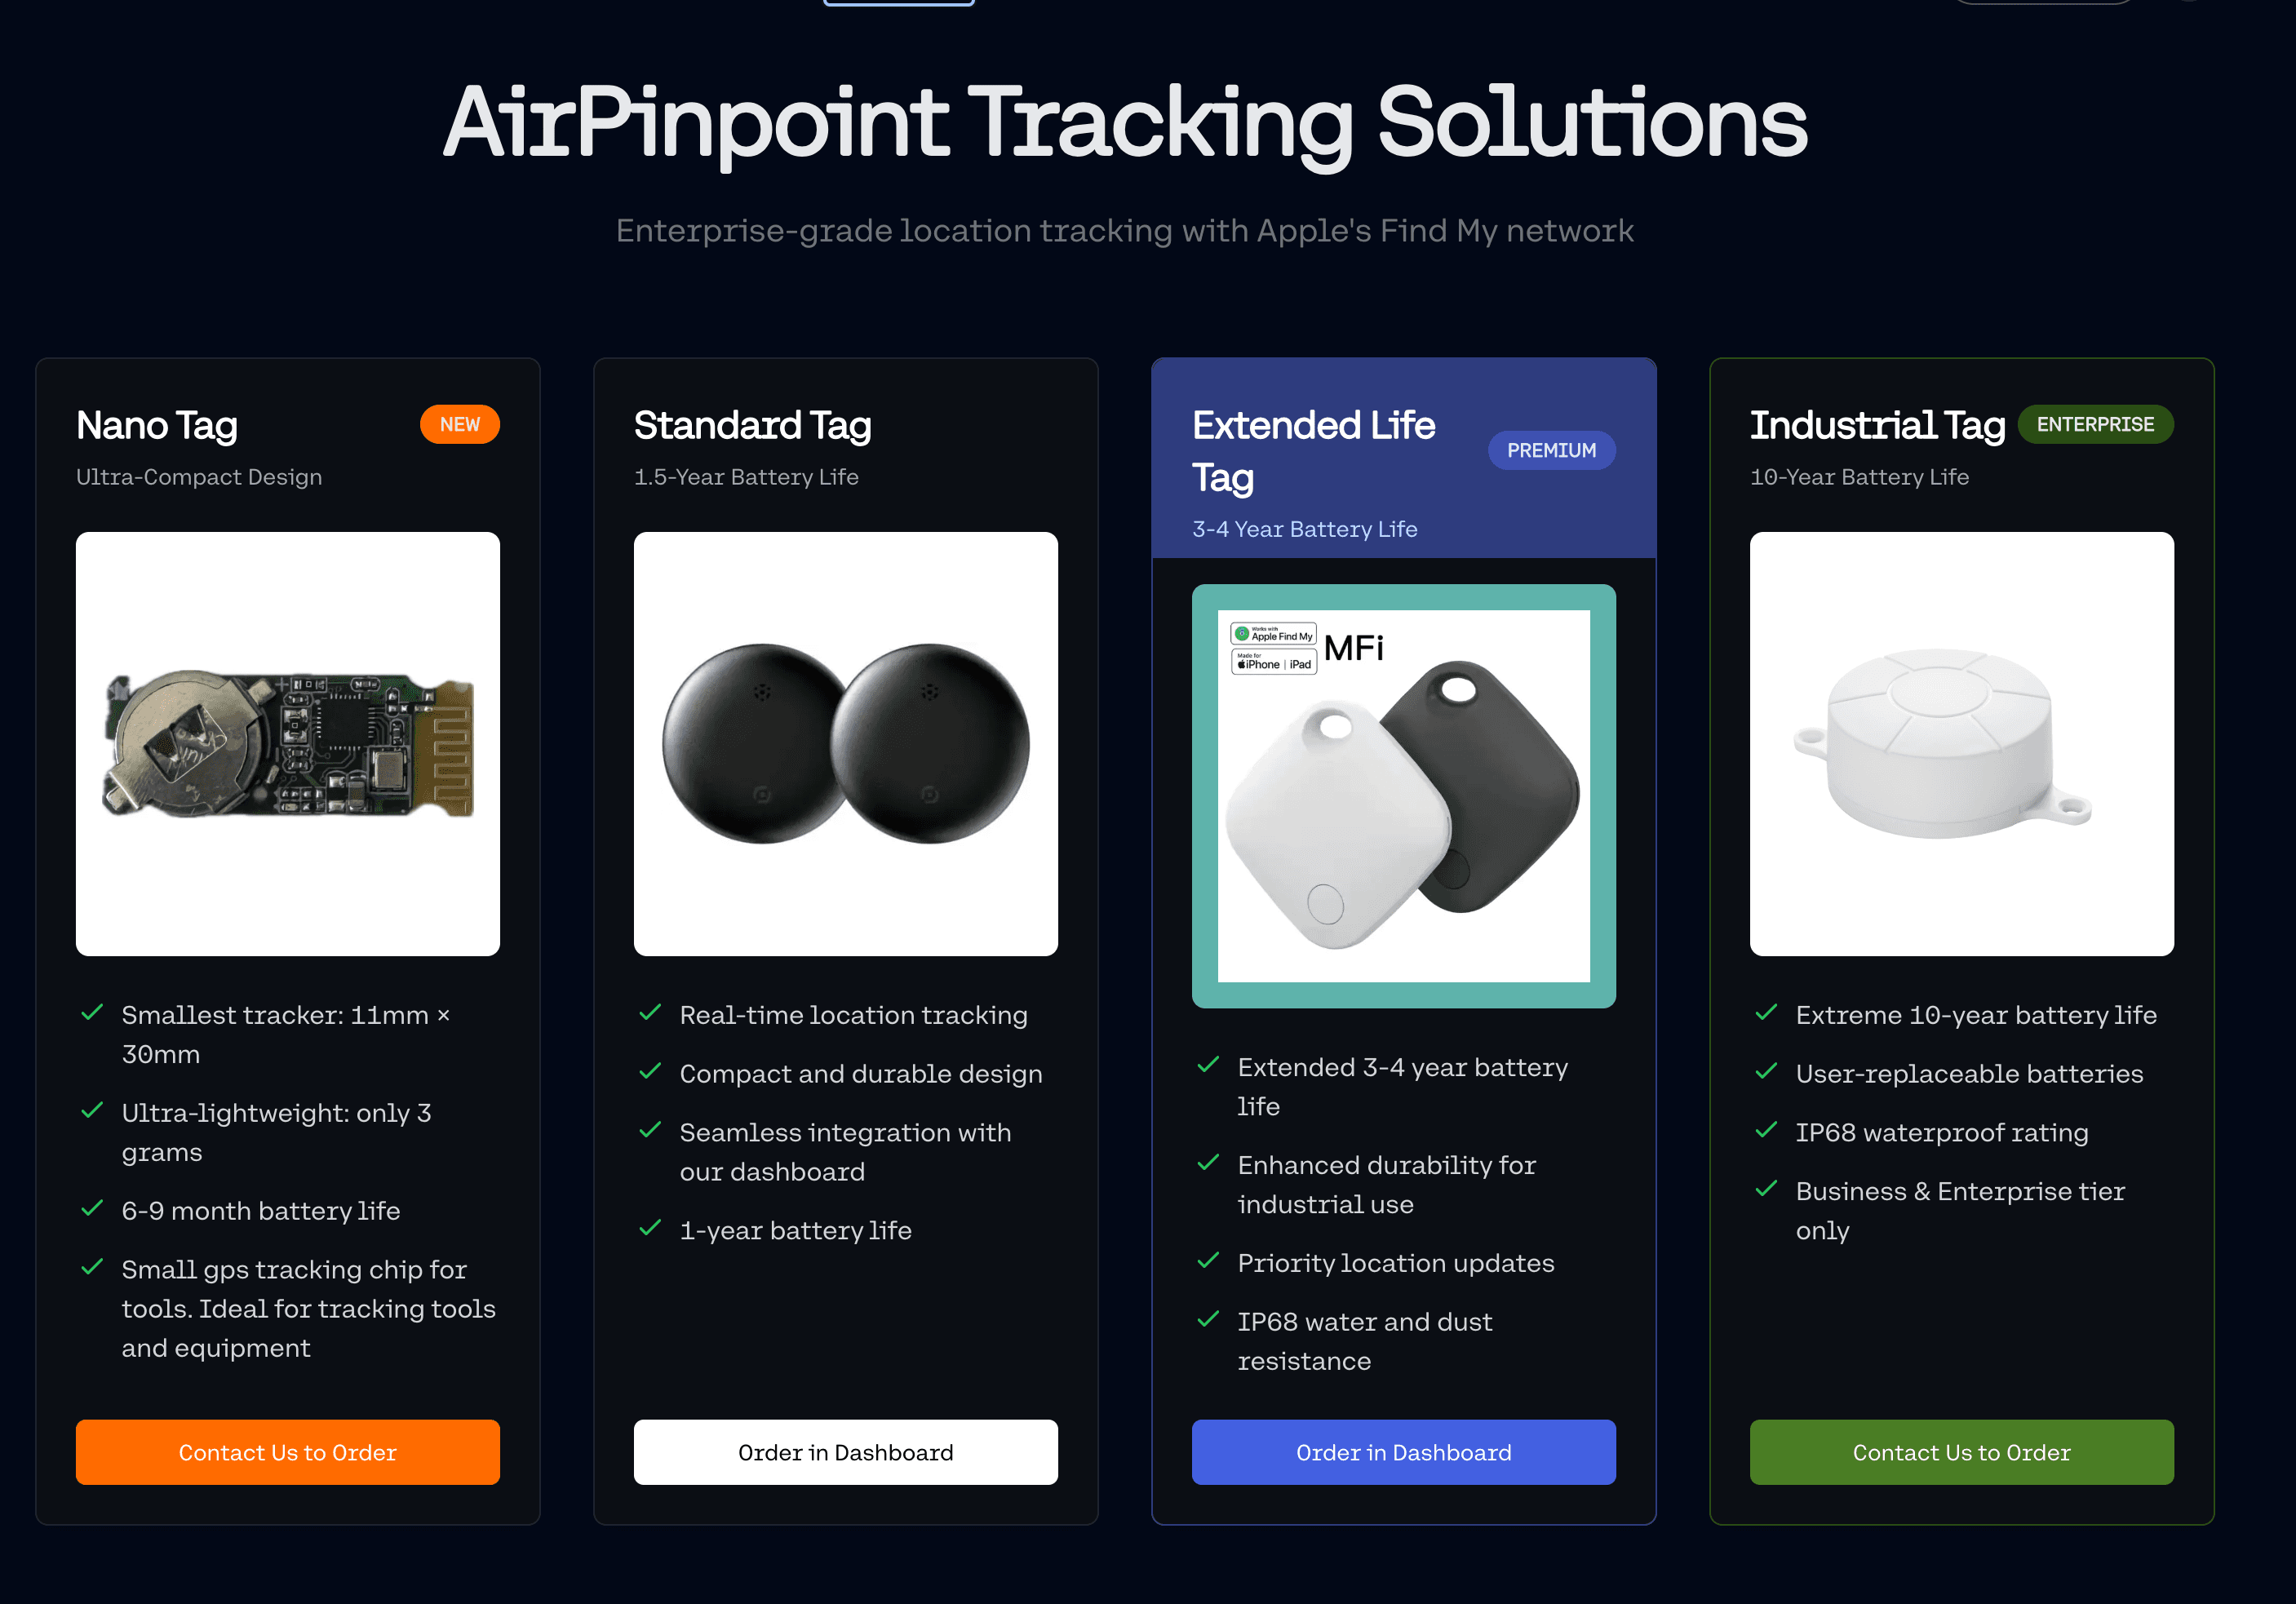
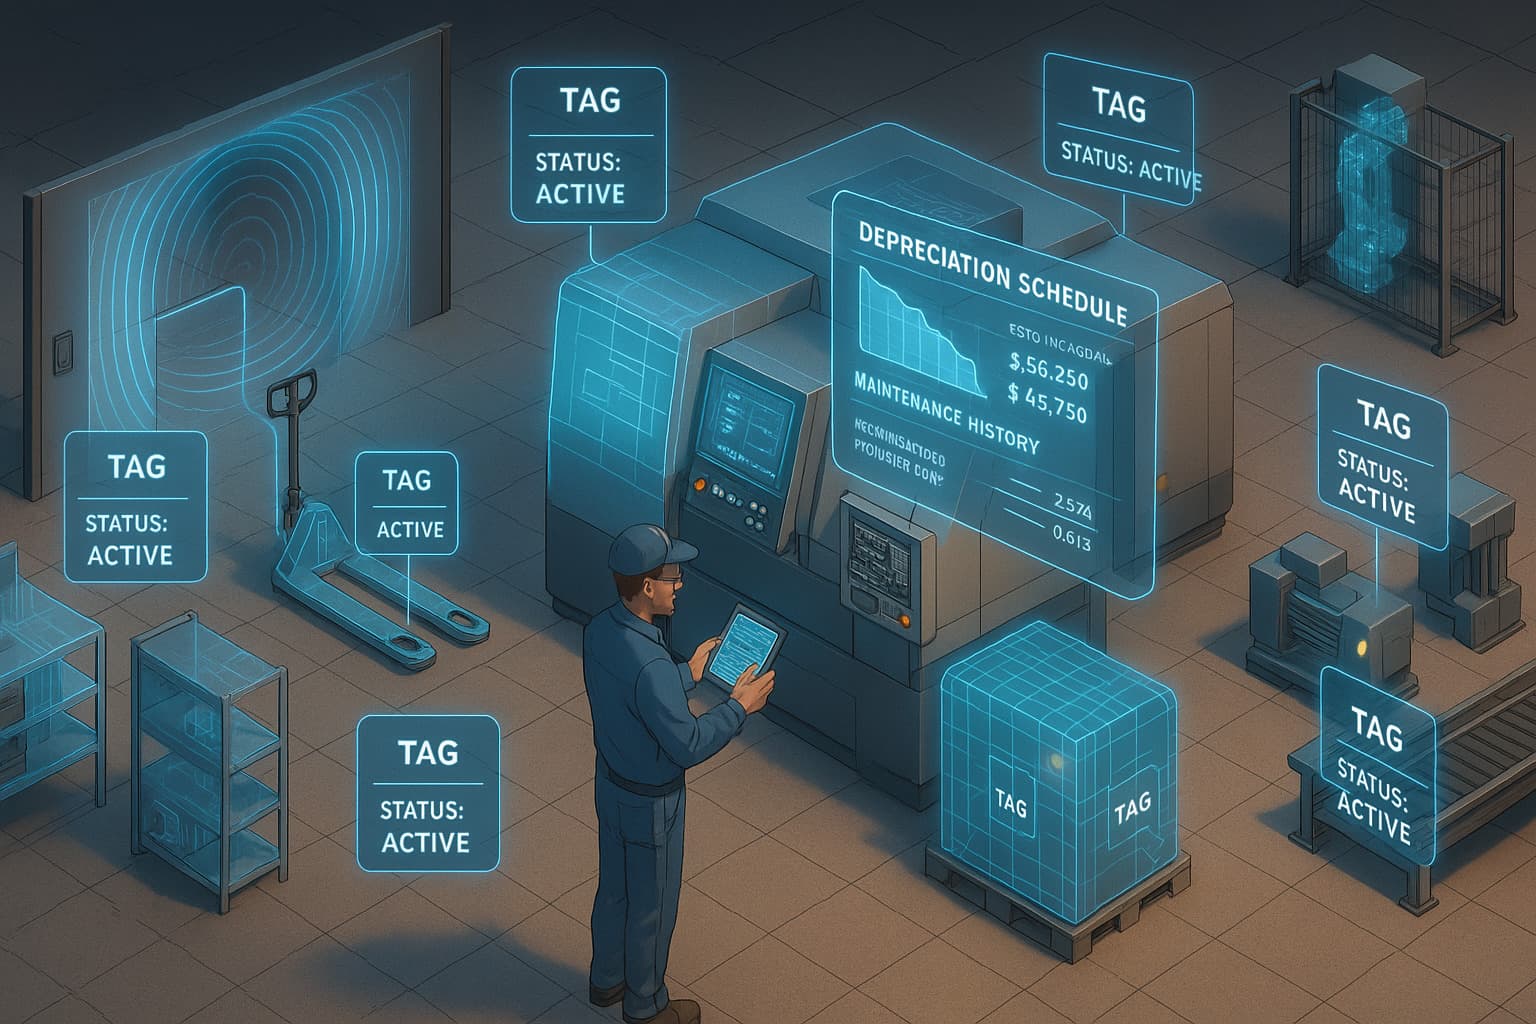
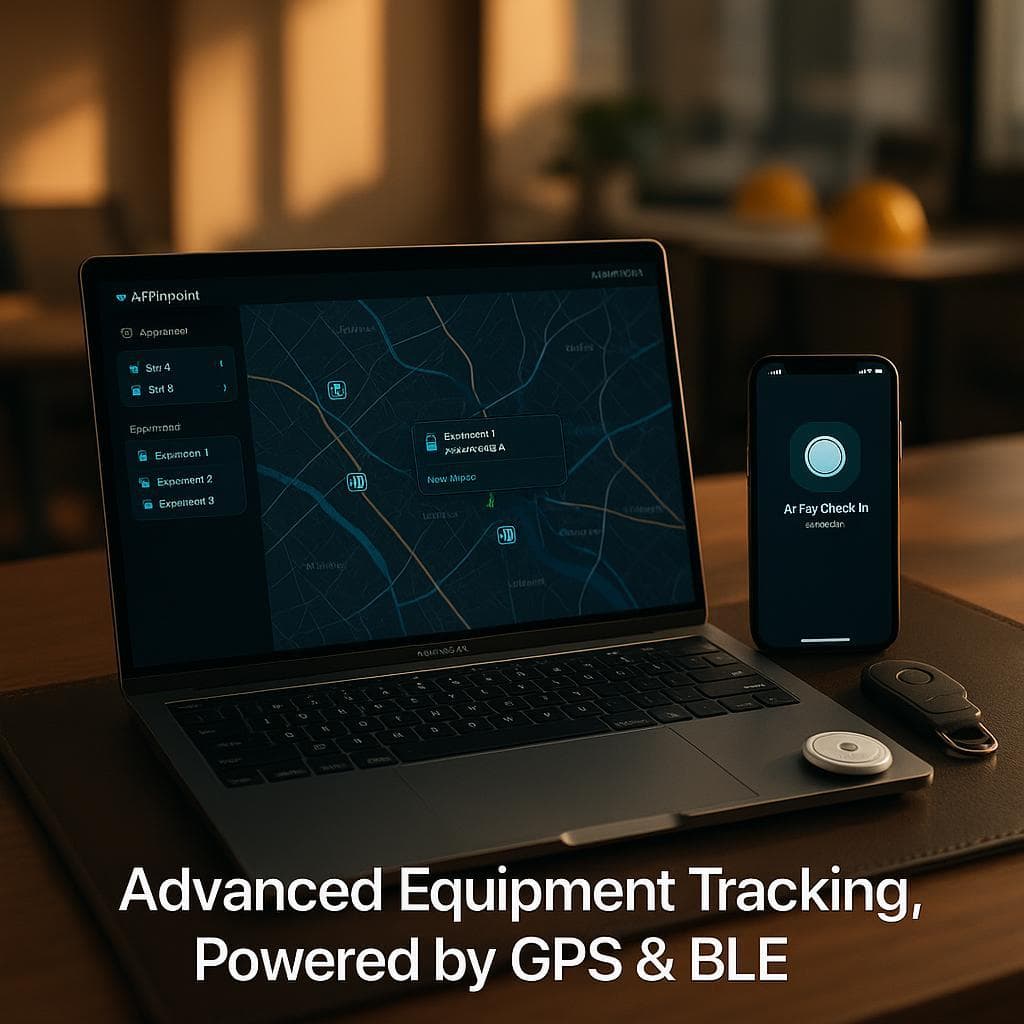
 Our Solution